Monday, July 17, 2017

Design and Consulting for ABLE

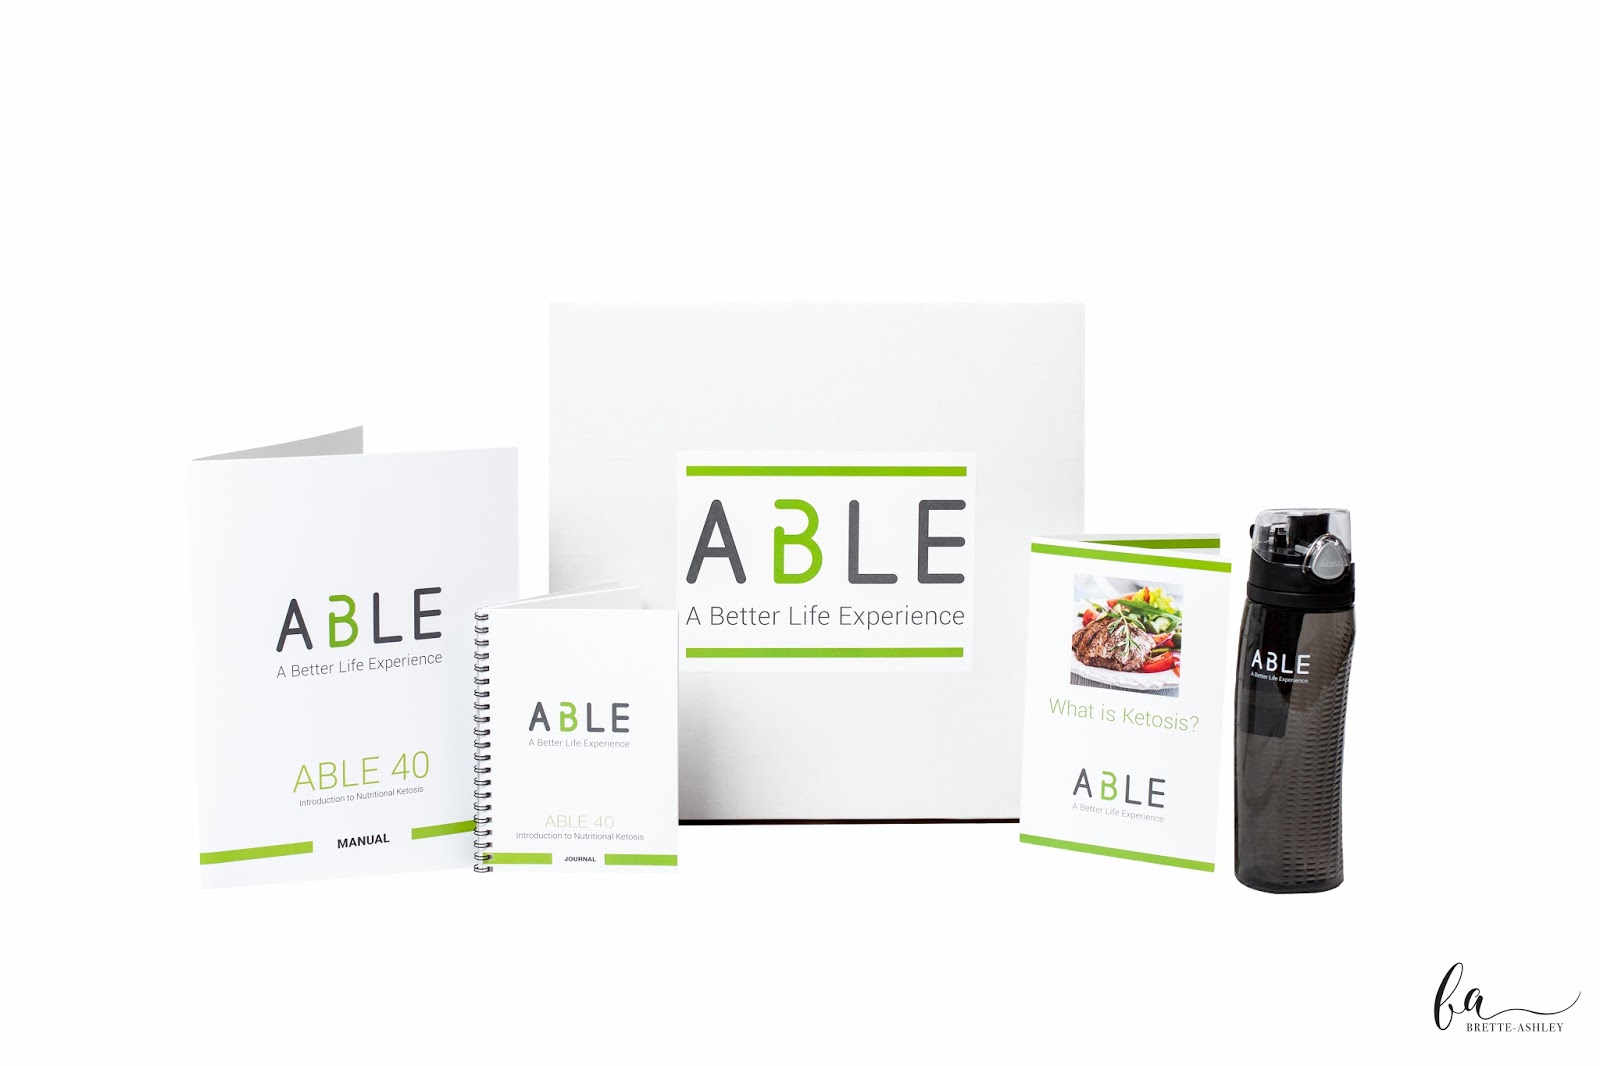
Earlier this year, I started working with ABLE, a new client and lifestyle company committed to helping people through the benefits of nutritional ketosis. I worked with them to provide design and consulting to help launch their new products and showcase their brand. I was thrilled to work with this startup company that grew from the vision of three friends, one of whom I have known since high school.


I really enjoyed working on a variety of pieces and providing input on various levels, such as:

Refining their new logo
Box kit packaging labels
Welcome kit letter
Ketosis brochure
Coupon card
Facebook ad
Water bottle branding
Supplement packaging concepts
T-shirt consulting
Web design consulting


Graphic design and packaging have been my primary focus for over a decade, but I also have experience with marketing and unique applications. I love working with new clients, especially wonderful ones like the ABLE team. 

We also got to collaborate with another friend of mine and talented photographer, Brette-Ashley, to capture their product photos and head shots. It's so great when I get to work with friends who also run their own business.

To learn more, visit the ABLE website
Product photography by Brette-Ashley Photography

Thursday, June 1, 2017

A Classy Wedding Invitation with Custom Illustration


One of my greatest compliments is when a client (and former bride) recommends my work to a bride-to-be. I was thrilled to work with Courtney and her mom to design a very classy wedding invitation and response card. The design included a custom illustration of the venue, done by my extremely talented friend and artist, Reb. It also included a monogram, hand layered gold and navy blue paper (each assembled by me), and printed response card envelopes. 

 
Sometimes it's the simplest designs that have the greatest impact and elegance. I really enjoyed working on this design, especially because the illustration made it so unique and the layered paper gave it such sophistication and shine.


Congratulations Courtney and Kevin! I hope your wedding day was every bit as beautiful and special as you imagined. Best wishes for your new life together as husband and wife! Thank you for allowing me to design your wedding invitations.


Tuesday, May 2, 2017

Sharpie Mugs for Mother's Day


We made Sharpie mugs at our MOPS (mother's of pre-schooler's) meeting today and they were a big hit! Jenny and I teamed up to lead the craft and put together a step-by-step presentation, along with a design template and a take-home instruction sheet. There are TONS of Sharpie mug tutorials on Pinterest and various blogs. After some trial and error, we found the best method that worked well for us. 

SUPPLIES
Dollar store white mug (the cheaper the mug, the better)
Sharpie OIL BASED Paint Pens (regular Sharpie's will wear off quickly)
Rubbing alcohol
Cotton balls
Pencil
Paper template (or freehand your design) 
Tape

Here is our visual step-by-step guide. The design template and instruction sheet will be at the end if you wish to download and save. We used the pencil transfer method to put the design on the mug. Be sure to add "Hand Wash Only" to the bottom. Let the paint dry for 24 hours. Place the dried mug into a cold oven on a baking sheet and set the temperature for 250 degrees and bake for 2 hours. When the 2 hours is up, leave the mug in the oven to cool completely. That's basically it! Now you'll have a cute mug to sip your morning coffee.


I designed this template with Mother's Day in mind. You could give mugs as gifts or keep them for yourself!

DESIGN TEMPLATE
*Be sure to print this template on 8.5x11 inch paper and check to make sure the size will work for your particular mug. 


FULL INSTRUCTIONS

Here is another example of Sharpie mugs that I've made: Wedding Gift Mugs 

Saturday, February 25, 2017

Hope Hall Gala Invitation Suite


In 2016, I started working with a new client, Hope Hall School. I designed the invitation suite for their yearly fundraising "Toast for Hope" gala. 


The pieces included:
Save the date postcard (2-sided)
Invitation (2-sided) with printed envelope
Response card (2-sided) with printed envelope
Program booklet (10 page, 2-sided) 


The theme was prom night, including a disco ball and silver glitter, also incorporating their corporate color, teal. Such a fun project! 


There was quite a bit of content included on both the invitation and the response card, which is why they were each 2-sided. I really enjoyed organizing all of the information and working to create a unified style. 


The program booklet took some creative formatting and organization as well, because there were a total of 20 pages to design (10 pages front and back), including adds, sponsors, auction items, schedule of events, board members, and more. I enjoyed getting to design a booklet like this and challenging my layout skills.


I'm so pleased with how all the pieces turned out! The client was very happy, too, which is the most important. Hope Hall School was wonderful to work with and I look forward to working with them again.

Friday, February 24, 2017

Suffering Succulents


Who doesn't love succulents? Maybe you call them "hens and chickens". Either way, these adorable green drought-resistant plants with rubbery leaves, in variety of shapes and sizes, have been all the rage for quite a while. I've been trying to keep some alive, indoors and outside, for years. 


Here's my latest indoor loss. This cute succulent from West Elm only lasted in my house about a year. Rest in peace. I never know if I water them too much or not enough! This is probably the third one I've managed to kill. Enough is enough. 

I started looking for inexpensive fake succulent alternatives. They can be a little pricey, depending on the size and container. Plus, I don't want them to look super-fake.  


I discovered single succulent pick stems at Walmart for just $1.99. It was the perfect size for the mercury glass vessel from my recently deceased plant.


I found a vase of sand lying around in my basement (because who doesn't have perfectly good sand lying around? This is why I never throw things out!). I used it to fill the container. 


And I stuck the succulent pick inside. Done! My own little DIY greenery for cheap. 


It's adds a little life in an otherwise dull area. 


THEN I found these little fake succulent containers at Target for just $3! THREE DOLLARS. There were a couple styles left, but I grabbed this one because it was different than the one I made. I think they are selling out fast.


I've seen similar styles for $8-15 and up. If you're looking for some adorable plants that you won't kill, to spruce up your decor, you can make your own or run to Target, ASAP. You can use any small container that you have - milk glass, mini flower pots, glass, mason jars, bowls. You could even get a small bouquet of individual pics and make a little garden or terrarium. Happy (fake) gardening!

Sunday, February 5, 2017

Jones AC Services Logo

In the fall of 2016, I had the pleasure of re-branding Jones Air Conditioning Services, located in Delray Beach, Florida. Jonathan Jones, is the owner and operator (and he is married to my beautiful cousin). He's also one of the hardest working, nicest guys you'll ever meet. I was thrilled when he asked me to work with him to give his company a makeover and boost his brand identity. 

After designing a new logo and establishing colors, I applied it to corresponding business cards, carbon copy invoice forms and a large magnetic sign for his vehicle.  


This was such a fun project for me because I got to research and strategize the field of air conditioning services, which is one that I have not worked with prior. I enjoy creating artwork for different applications, too. This is my third vehicle related design. Thinking about magnetic signs driving around Florida gives my heart a little flutter.

I also couldn't have asked for a better client - not just because he's family, either. I really like being able to help support a family owned and operated business.

Saturday, February 4, 2017

50th Surprise Birthday Party


In January, my sister, Lisa, threw her husband, Chris, a SURPRISE birthday party. And he was completely surprised! Success! This was a big birthday, too. 50! However, Chris certainly doesn't act or look his age! 


You make 50 look good, Chris! 


When Lisa started planning the party, I volunteered to design the invitations and help with decorations. I love party planning! 

We wanted to celebrate his 50 years in a fun, upbeat, and classy way. Lisa selected the color theme and plaid napkins in blue and green. Then we added touches of gold and silver. I cut out "50" numbers in gold, attached them to skewer sticks for each centerpiece and wrapped large mason jars with burlap. We filled them with paper filler, added curled ribbon and a Bible verse. I had silver chargers and enough small glass jars to hold flame-less candles, which we filled with rainbow sprinkles. How cute is that?! 


Lisa made a photo collage in the shape of "50" on foam core and we used my two burlap message boards to pin the rest. Everyone always enjoys looking at photos from throughout the years. 

It was a fun afternoon of celebrating with family and friends. 


Chris, you are loved by so many! God has blessed you with a beautiful family and dear friends. You are a testament of God's goodness and faithfulness and we are thankful for you!