Friday, October 27, 2017

Tiny Office Reveal


I'm excited to finally share my new tiny office reveal! This under-the-stairs walk in closet measures about 3 feet wide by 12 feet long, with the staircase taking up a lot of the vertical space. I think most people thought I was crazy for trying to turn this into a working office. But with some careful planning, small furniture, creative storage pieces and a LOT of my husband's hard work (a TON of work), we somehow made this little tiny office dream of mine a reality. I'm giddy just typing this in this very space!


When I look at the before pictures, and remember what this used to be, I only have two words: HOT MESS. Since we've lived here, this closet was a mishmash of storage space for craft supplies, books, paper products, clothing and whatever stuff we didn't have room for somewhere else. It was bad. Real bad. The actual structure of the closet was a disaster. There was a giant heating and cooling vent weaving through the floor. There was asbestos tile and patches of floor that were missing. An oddly positioned wood beam that served no purpose. A few unfinished sections of drywall and decomposing ceiling. It was not pretty to say the least, but it did hold a lot of stuff. 


When we decided to move Marshall into my former office, I kept trying to figure out the best place to relocate the large work desk that we built, my computer, office supplies, and other things that I really wanted to still have access to. My mind would not rest until one day it dawned on me that maybe this closet could be transformed into just enough space for me. I ran it by my husband probably enough times to wear him down until he finally (reluctantly) agreed. I married a patient and very loving man. That's an understatement right there. None of this could have happened without him. I need to sing his praises because he worked many nights and weekends, cutting and installing countless boards and flooring, painting, painting and painting some more. We hired professionals to reroute the vent and update the electrical (which was the biggest investment), but the rest was all him.


We searched high and low for the right boards that would create that shiplap look (channeling my inner Joanna Gaines) and finally landed on new wooden fence posts. We considered leaving them their natural color but I really wanted the room to be all white, including the stairs, which was probably the worst part to paint.


How great does that look?!? We picked out inexpensive laminate flooring to match the rest of the downstairs. I really like the contrast. It started to look like a real room! If only there were 3-6 more feet of space...

This closet actually has two doors, one from Marshall's room (it truly is a closet) and one leading to the rest of the house. It's kind of fun to be able to go through to both sides. This may sound silly, but I've always wanted my own little "place under the stairs". 

I could not WAIT to move my things in and figure out how everything would fit best. Marshall put the new desk to the test, which was actually a very narrow console table we had in the living room. Anything wider would not have fit, and anything smaller would not have supported my (large) computer.


I also had a small filing box on a metal stand that was perfect for extra desk space and to store my printer underneath. I stacked my white storage boxes and some baskets under the stairs. 


I really hoped to be able to fit a small chair and side table to sit and read or have an occasional visitor. I picked up this adorable white chair at a local charity garage sale for $8. I created a small bookshelf-table by stacking two wooden crates from the craft store. Andrew made the floating shelf above for my jars of art supplies. The metal baskets used to be in another room and were from Hobby Lobby. Isn't it cute? I occasionally sip cup of tea in this spot while enjoying a few quiet moments in the morning. 

A wreath and some prints hanging on the wall, along with a metal letter organizer and one of my burlap cork boards cozy up the space. I didn't want it to feel cluttered, just a few pieces that make me happy to adorn the walls.

I'm sure I'm forgetting some details, but I'm just so thrilled that it's done and that it turned out waaaaay better than I even imagined. My growing baby belly is still able to fit behind the desk! I've been pregnant throughout this entire makeover, so I'm curious to see how much "roomier" it will feel once baby arrives. 

Even though there were quite a few times I thought about giving up and got really discouraged with this project, I kept picturing what it could be like. I'm so glad Andrew was willing to work so hard to make it come to life. Don't let anyone talk you out of your dreams! It may take some time (or a lot of time) and there may be setbacks, but keep looking for new ideas and solutions. It will be worth it!  

Tuesday, August 29, 2017

Gender-Neutral Farm Animal Baby Shower Invitation


I love having the opportunity to design invitations for friends that I have known most of my life. My friend, Alonna and her husband, Pat, recently welcomed their precious baby girl into their family and I could not be happier for them! I've known Alonna and her family since she was in second grade (or longer!). Alonna and Pat are such an adorable couple, and if you know Alonna, you know how much she loves animals. This gender-neutral farm animal theme invitation was so much fun to create, based on their idea. I applaud them for being able to wait 9 months to find out if they were having a girl or a boy. Welcome to the world sweet baby! You are so very loved.

Monday, July 17, 2017

Design and Consulting for ABLE

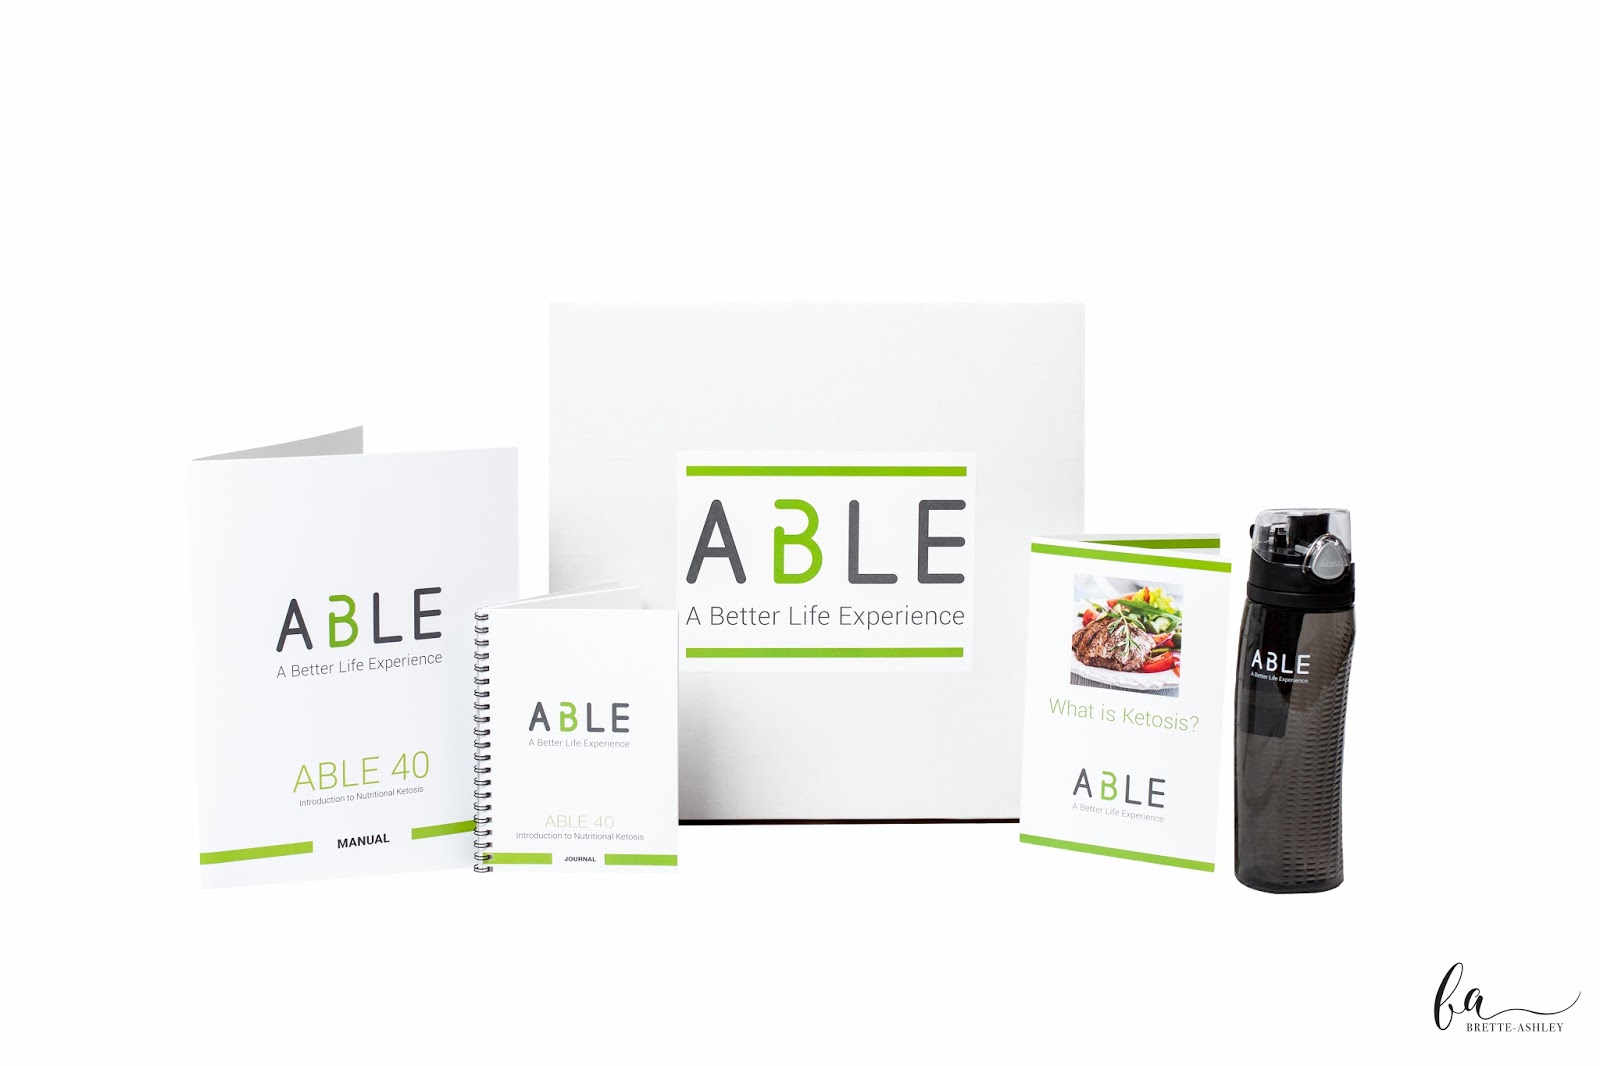
Earlier this year, I started working with ABLE, a new client and lifestyle company committed to helping people through the benefits of nutritional ketosis. I worked with them to provide design and consulting to help launch their new products and showcase their brand. I was thrilled to work with this startup company that grew from the vision of three friends, one of whom I have known since high school.


I really enjoyed working on a variety of pieces and providing input on various levels, such as:

Refining their new logo
Box kit packaging labels
Welcome kit letter
Ketosis brochure
Coupon card
Facebook ad
Water bottle branding
Supplement packaging concepts
T-shirt consulting
Web design consulting


Graphic design and packaging have been my primary focus for over a decade, but I also have experience with marketing and unique applications. I love working with new clients, especially wonderful ones like the ABLE team. 

We also got to collaborate with another friend of mine and talented photographer, Brette-Ashley, to capture their product photos and head shots. It's so great when I get to work with friends who also run their own business.

To learn more, visit the ABLE website
Product photography by Brette-Ashley Photography

Thursday, June 1, 2017

A Classy Wedding Invitation with Custom Illustration


One of my greatest compliments is when a client (and former bride) recommends my work to a bride-to-be. I was thrilled to work with Courtney and her mom to design a very classy wedding invitation and response card. The design included a custom illustration of the venue, done by my extremely talented friend and artist, Reb. It also included a monogram, hand layered gold and navy blue paper (each assembled by me), and printed response card envelopes. 

 
Sometimes it's the simplest designs that have the greatest impact and elegance. I really enjoyed working on this design, especially because the illustration made it so unique and the layered paper gave it such sophistication and shine.


Congratulations Courtney and Kevin! I hope your wedding day was every bit as beautiful and special as you imagined. Best wishes for your new life together as husband and wife! Thank you for allowing me to design your wedding invitations.


Tuesday, May 2, 2017

Sharpie Mugs for Mother's Day


We made Sharpie mugs at our MOPS (mother's of pre-schooler's) meeting today and they were a big hit! Jenny and I teamed up to lead the craft and put together a step-by-step presentation, along with a design template and a take-home instruction sheet. There are TONS of Sharpie mug tutorials on Pinterest and various blogs. After some trial and error, we found the best method that worked well for us. 

SUPPLIES
Dollar store white mug (the cheaper the mug, the better)
Sharpie OIL BASED Paint Pens (regular Sharpie's will wear off quickly)
Rubbing alcohol
Cotton balls
Pencil
Paper template (or freehand your design) 
Tape

Here is our visual step-by-step guide. The design template and instruction sheet will be at the end if you wish to download and save. We used the pencil transfer method to put the design on the mug. Be sure to add "Hand Wash Only" to the bottom. Let the paint dry for 24 hours. Place the dried mug into a cold oven on a baking sheet and set the temperature for 250 degrees and bake for 2 hours. When the 2 hours is up, leave the mug in the oven to cool completely. That's basically it! Now you'll have a cute mug to sip your morning coffee.


I designed this template with Mother's Day in mind. You could give mugs as gifts or keep them for yourself!

DESIGN TEMPLATE
*Be sure to print this template on 8.5x11 inch paper and check to make sure the size will work for your particular mug. 


FULL INSTRUCTIONS

Here is another example of Sharpie mugs that I've made: Wedding Gift Mugs